I tried to update Windows 10 to Windows 11 on my Intel-based HP 15 Series & my MacBook Air. I was surprised. It simply refuses to install on our computer. Here is the error screenshot:-
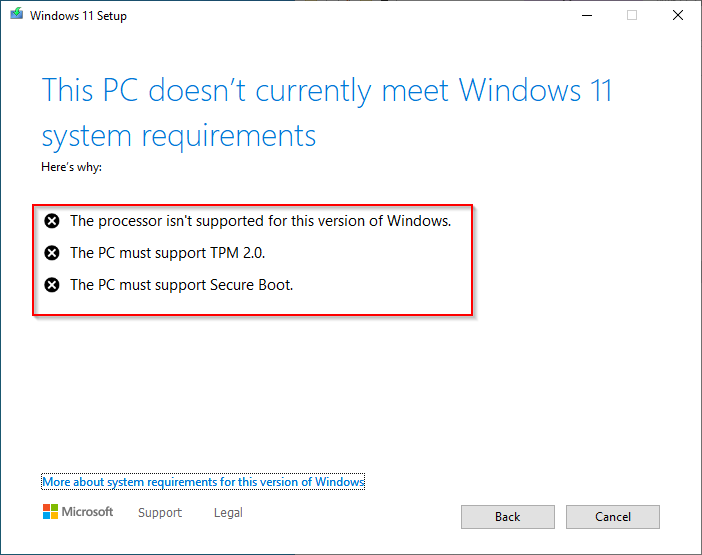

The error was simple, “This PC doesn’t currently meet Windows 11 system requirements.” My PC could not run Windows 11 due to these hardware requirements:-
- The processor isn’t supported for this version of Windows.
- The PC must support TPM 2.0.
- The PC must support Secure Boot.
Then, I decided to try my old method, bypassing TPM 2.0 and Secure Boot. And then, Windows 11 setup started without any error.
In this gearupwindows article, we will guide you with full details to quickly bypass these errors and install Windows 11 on an unsupported computer, even on an Intel-based Apple machine.
Topics Covered
How to Install Windows 11 on Unsupported PCs?
Step 1. First, download a Windows 11 ISO file from the Microsoft server (The final version of Windows 11 ISO file size is around 5.2GB).
Step 2. When downloading is completed, extract its contents in a folder using WinRAR or other software. To do that, right-click on the ISO file and select the “Extract to” option.
Step 3. When ISO file contents are imported into the folder, open the “Sources” folder and delete the “appraiserres.dll.” This file is 192KB in size that is responsible for checking Windows 11 requirements.


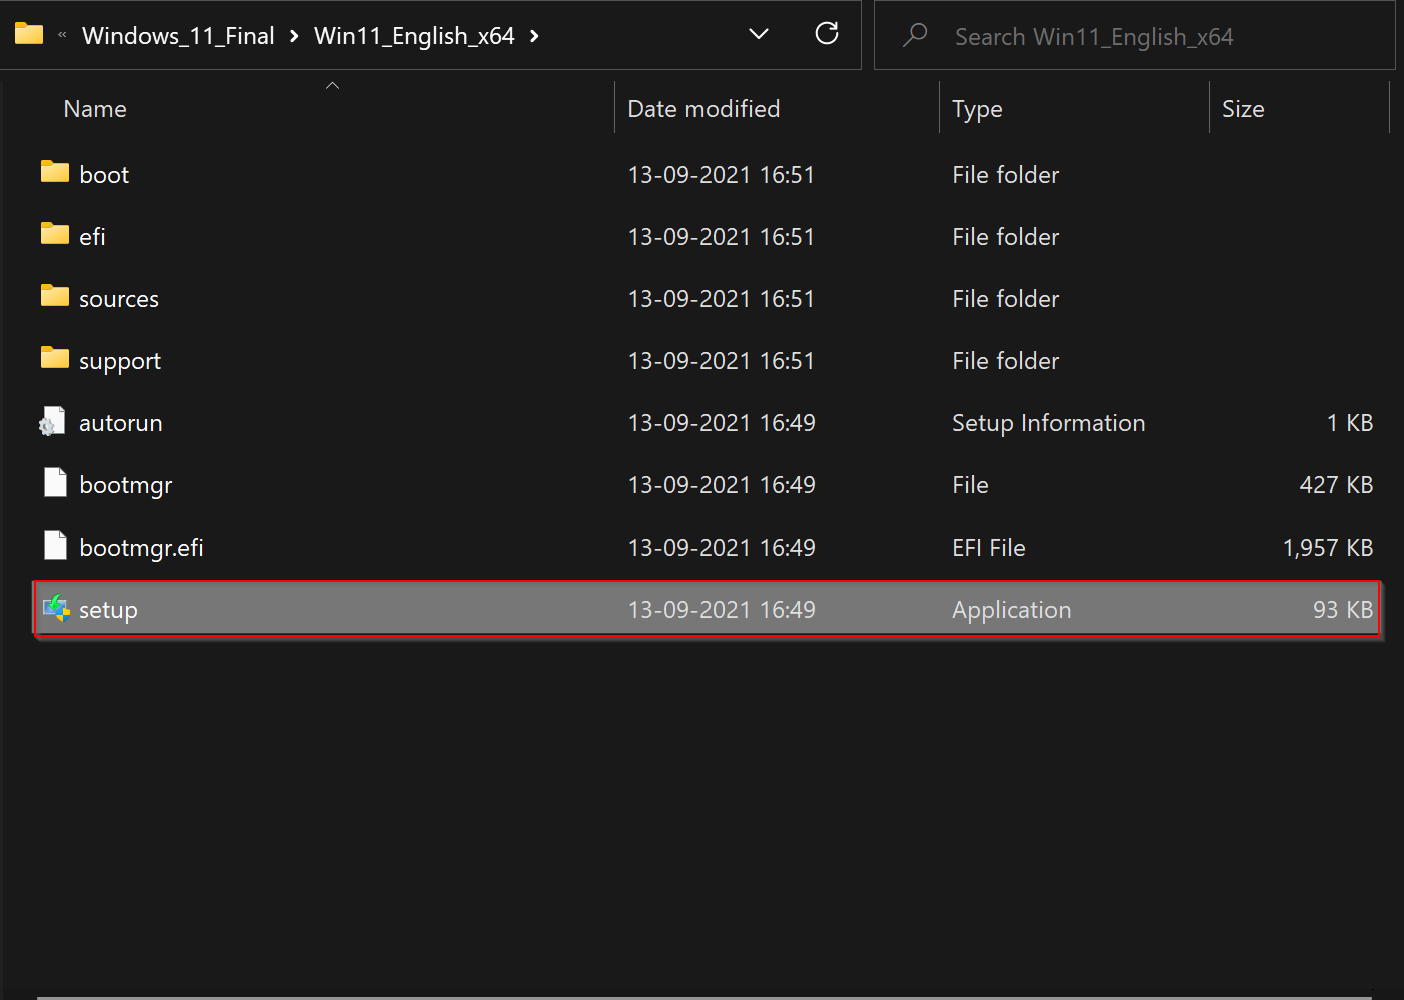
Step 4. Then, double-click on the “setup” file from Windows 11 folder to start installing it.

Step 5. In the “Windows 11 setup” window, first, uncheck the option, “I want to help make the installation better.” Then click the link, “Change how Setup downloads updates.”

Step 6. Next, select the Not right now option and then click the Next button.

Step 7. When you see, “Applicable notices and license terms” header, click the Accept button at the bottom.

Step 8. In the next window, leave the options “Install Windows 11” and “Keep personal files and apps” checked. Then click the Install button. If you want to clean install, uncheck both options. It will erase the Windows 10 drive (Usually “C” drive).

That’s it!. Now, Windows will prepare itself, and your computer will be updated from Windows 10 to Windows 11. It may take a while, depending upon the speed of your PC.
Comments
Post a Comment